The recent tutorial by Mike included the topic of resizing images for projection. This reminded me of a note that Gordon Jenkins and I produced for the L&CPU website and published in May. I have updated this to refer to the OPS image size requirement of 1400 x 1050 (which is likely to be adopted by the L&CPU for their next competition) and reproduced it below.
Guidance on resizing, filling unused areas with a colour, changing the colour space to sRGB and saving as JPEG
For competition all images will be jpg and projected in landscape format, using sRGB colour space with a maximum size of 1400 pixels wide and 1050 pixels high.
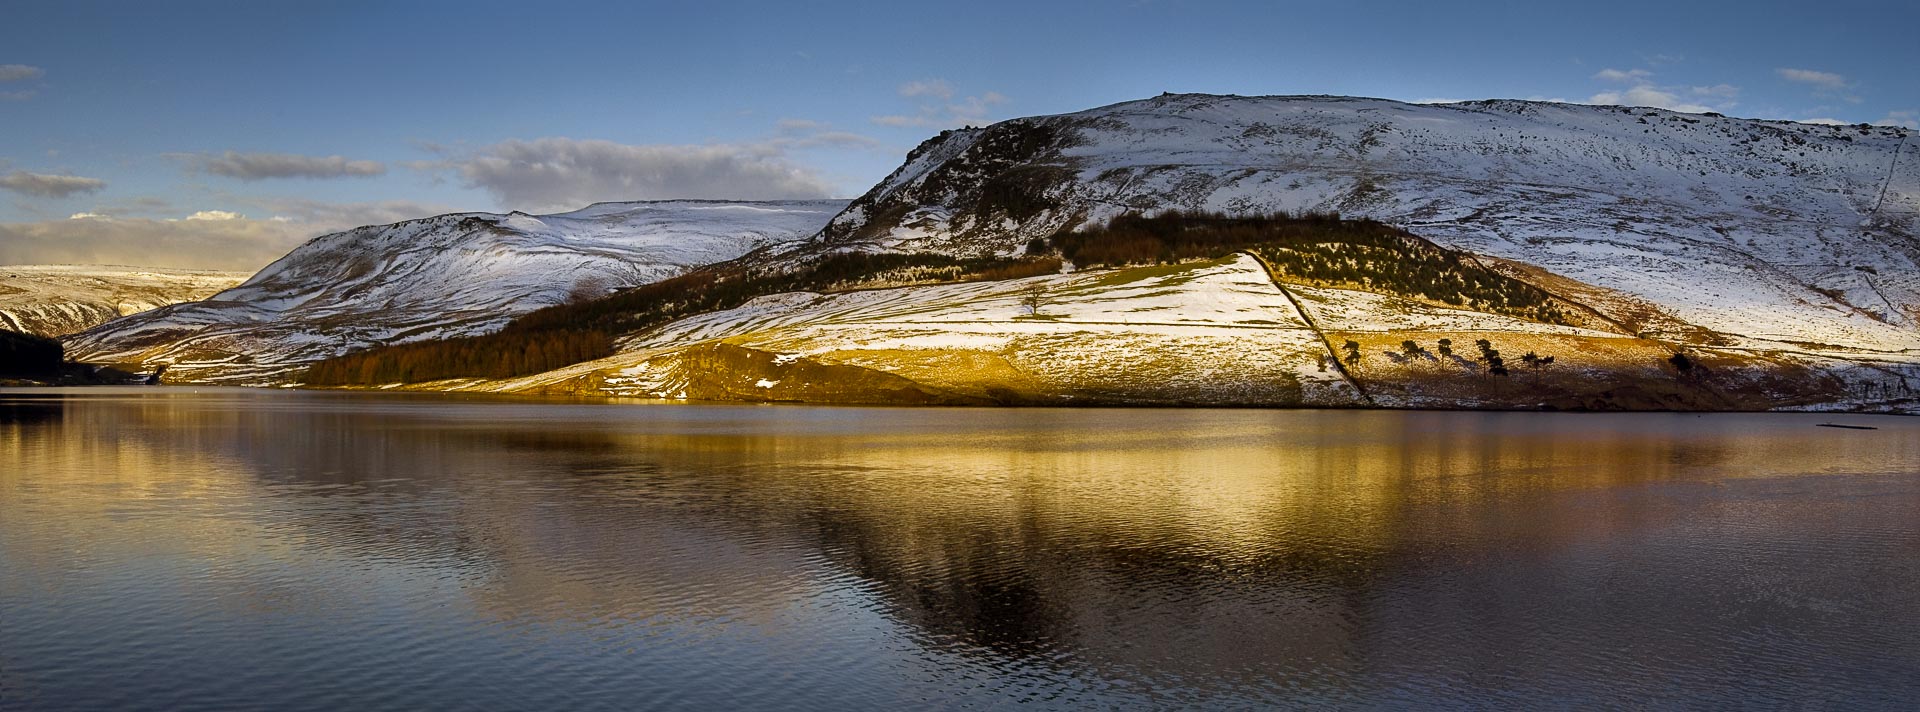
Whatever the shape of the image you must “constrain proportions” but fit it within these limits. For example, a square image would be made 1050 x 1050 pixels, a “letterbox” or panorama might be 1400 wide by 400 high, an image in “portrait” format would be 1050 pixels high.
After resizing, if your image is less than either of these dimensions the background must be filled in with a colour. It will then appear on screen much like a mounted print and be shown to best advantage.
How to…
In Photoshop open your image. Save a copy of the high resolution image (you may want to make a print later!) then go to Image> Image Size.
From the Image Size dialog box ensure the Constrain Proportions and Resample Image boxes are ticked.
Next change the Pixel Dimensions in either the width or height (not both) so that both numbers are within the limits (note that when one value is changed the other is recalculated). The resolution in pixels/inch or pixels/cm is unimportant.
Click OK.
Now go to Image>Canvas Size.
In the Canvas Size dialog box change the measurements to pixels (instead of cm or inches) and type in 1400 for width, and 1050 for height.
Then, go to the drop down menu Canvas extension colour, and choose Black. (This generally considered to show your digital images to their best advantage, but you can choose your own colour) Click OK.
To ensure that your image is in the sRGB colour space, in Photoshop go to Edit> Convert to Profile.
The Convert to Profile dialog box will show your source colour space (ie your current colour space) and destination colour space. From the Destination Space drop down menu choose sRGB and click OK.
Now name and the save file in jpg format at the maximum image quality of 12.
Save the image with the title as the filename.
John

